7th ARMOURED DIVISION
HQ Cromwells + Sherman ARV
4x Full Combat Platoons
Rifle Platoon (Tyne and Tees)
Carriers
GERMAN GRENADIERS
HQ + fausts + Schreck team + Mortars
3 Full Gren Platoons w/ Fausts
HMGs
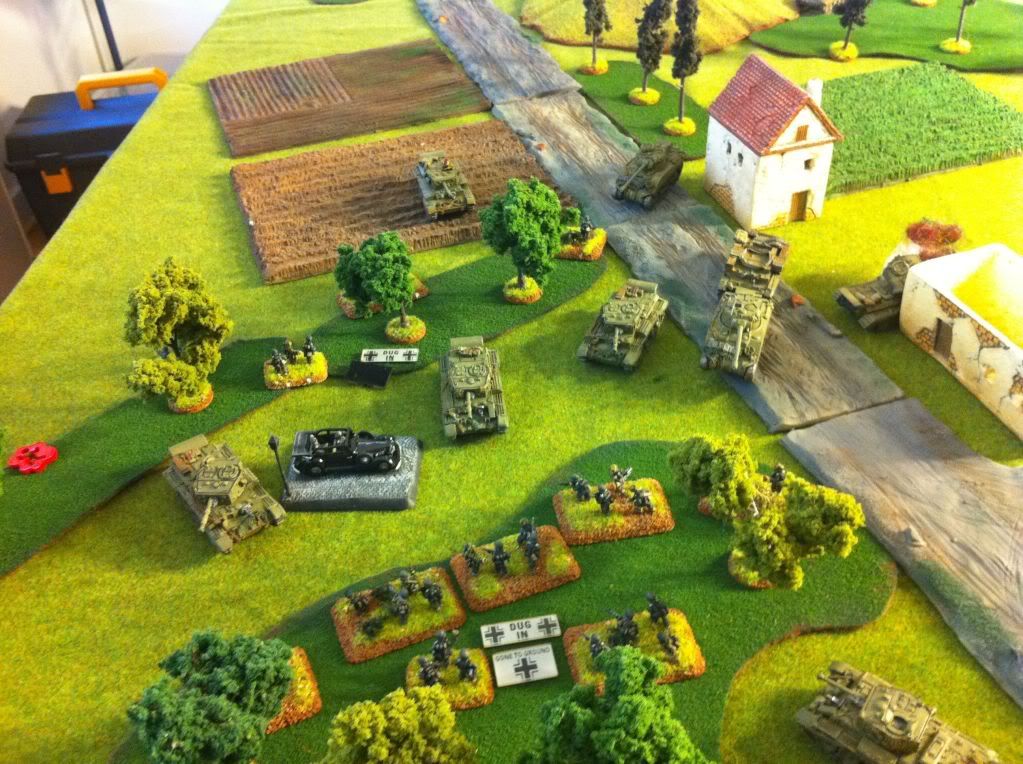
Pak 40s (3)
3x Stug IV
4x Marder III M
4x Panzerwerfers w/ extra crew
Since Sean is a tank company, my grenadiers were automatically the defenders.
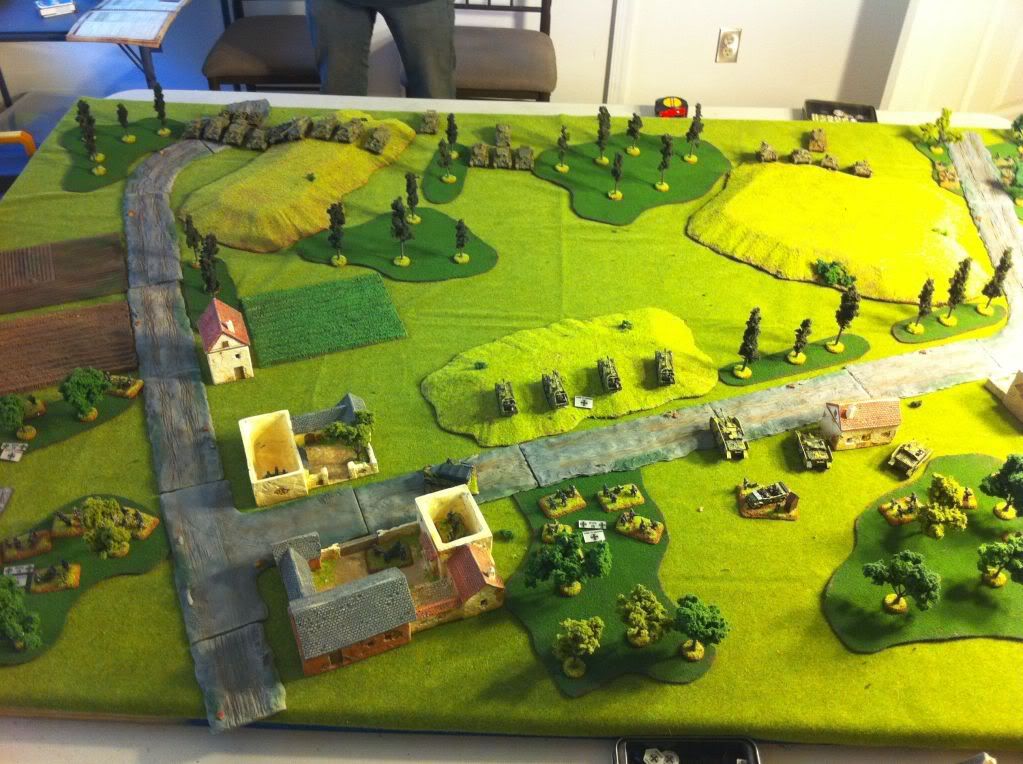
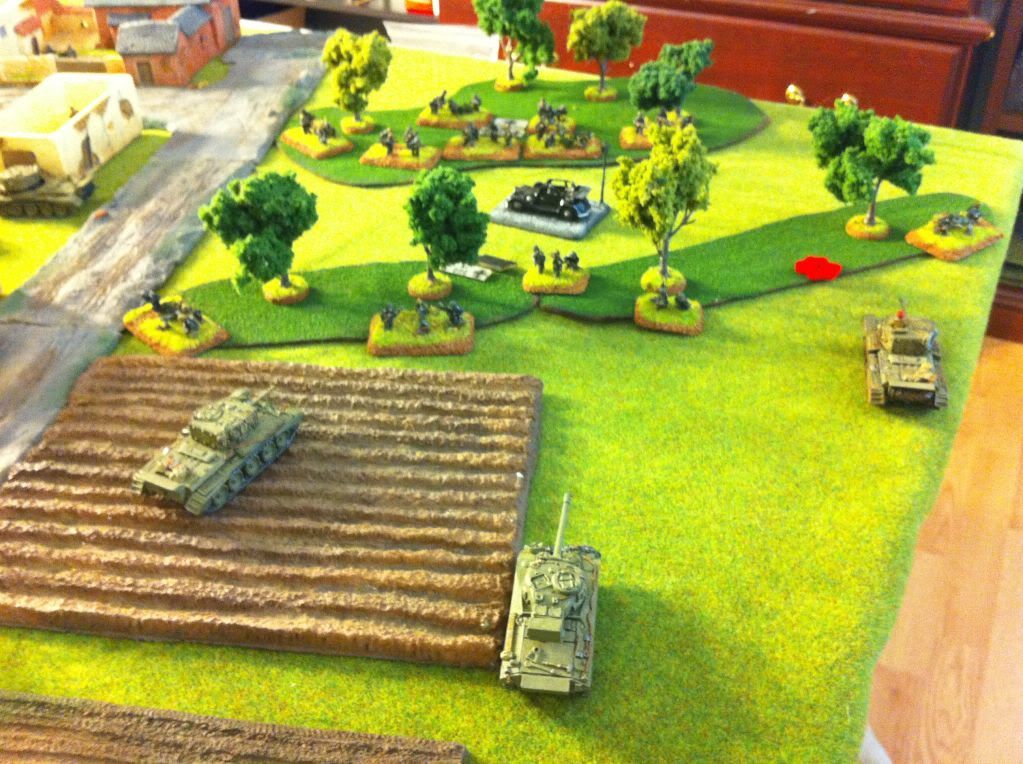
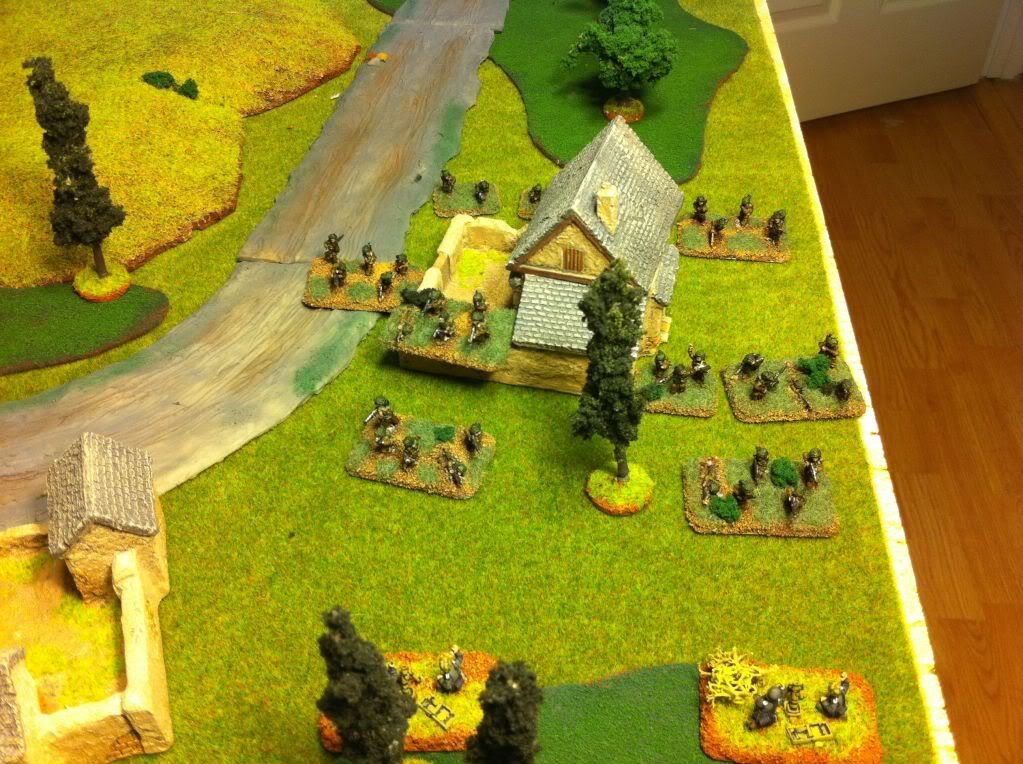
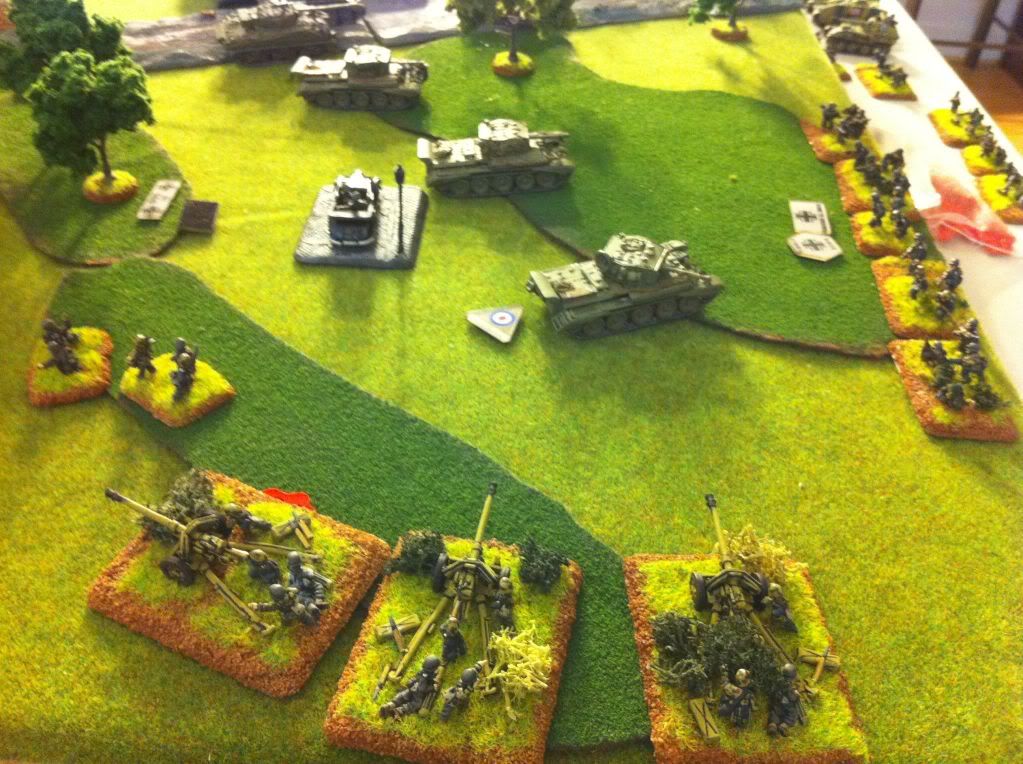
The German side of the board. Pak 40s are in ambush. The defender's objective is on the left just between the 2 woods. The two attacker's objectives are on the road to the right of the T, and between the two woods in the center. Marders and Stugs are deployed in the center. HMGs and grenadiers to the left, and Grenadiers to the center and right.
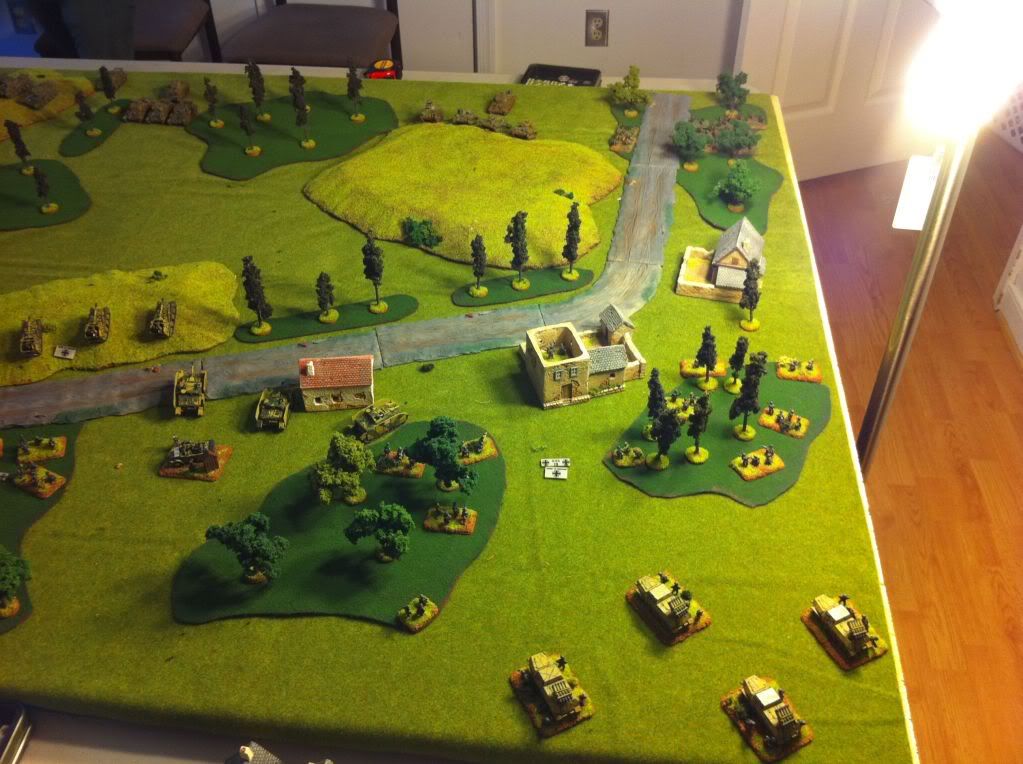
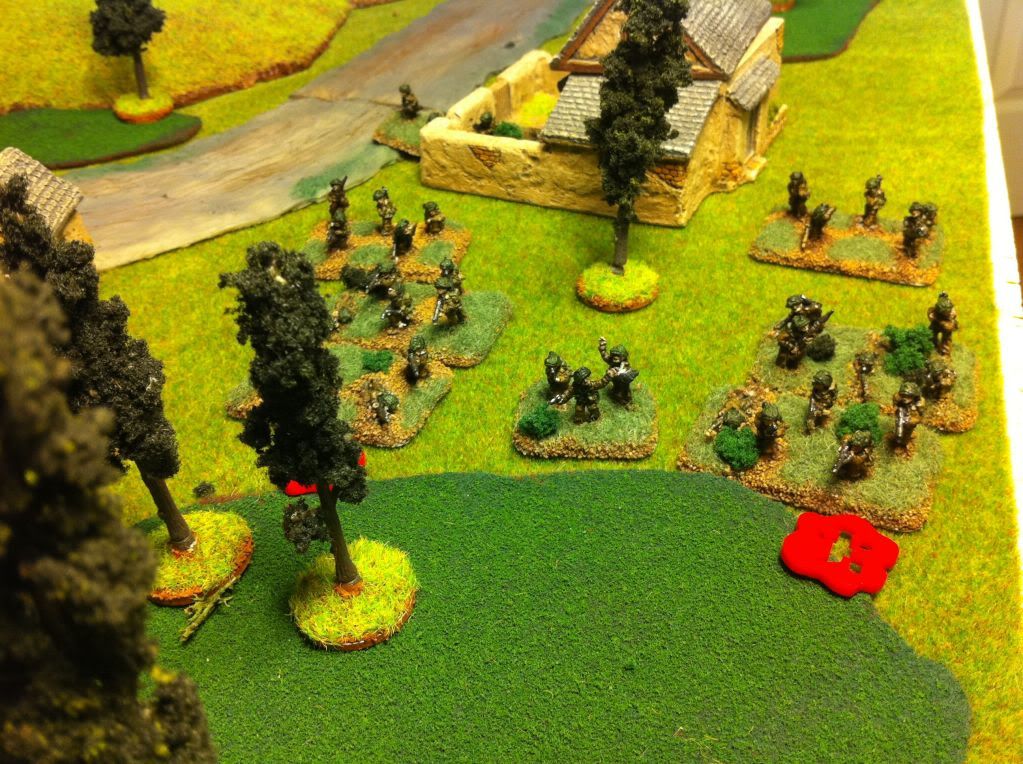
The German right. Panzerwerfers and HQ Mortars on the right.
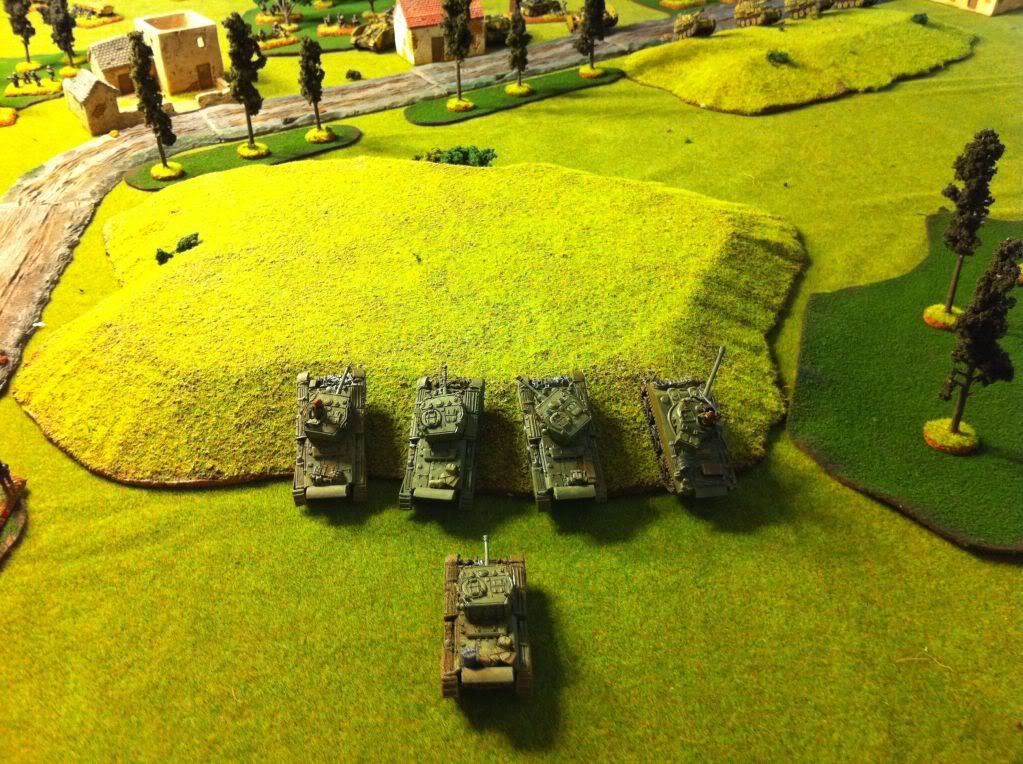
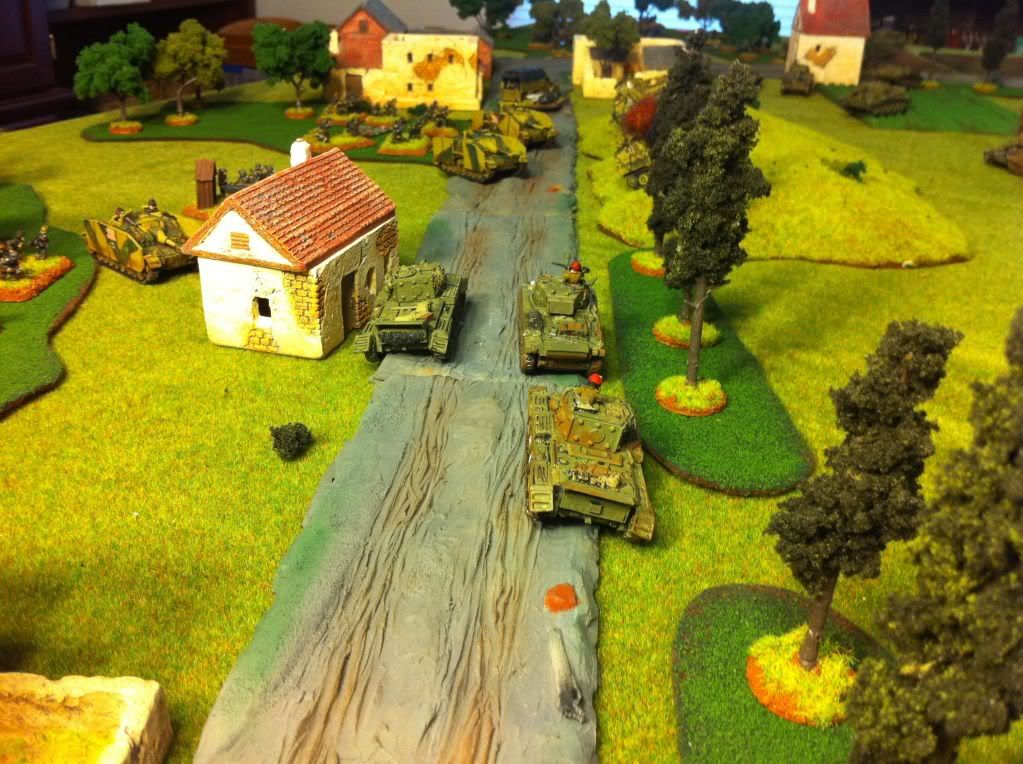
Cromwells prepare to roll out.
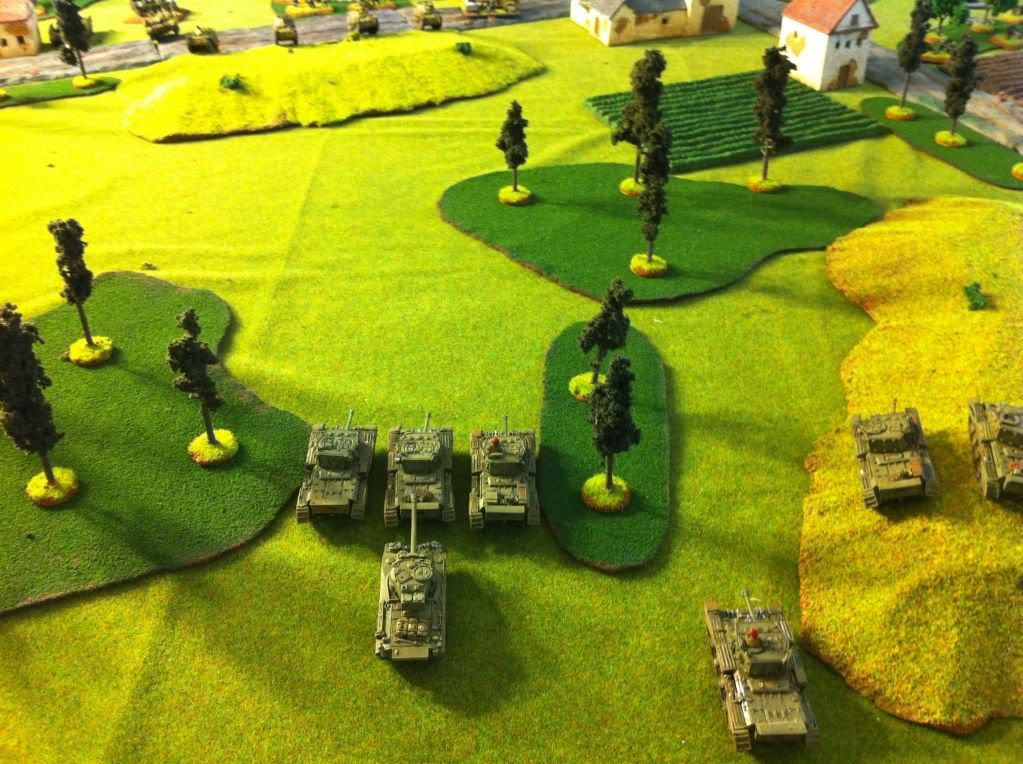
The center section of the British armour prepares to race forward!

Alright boys, advance!
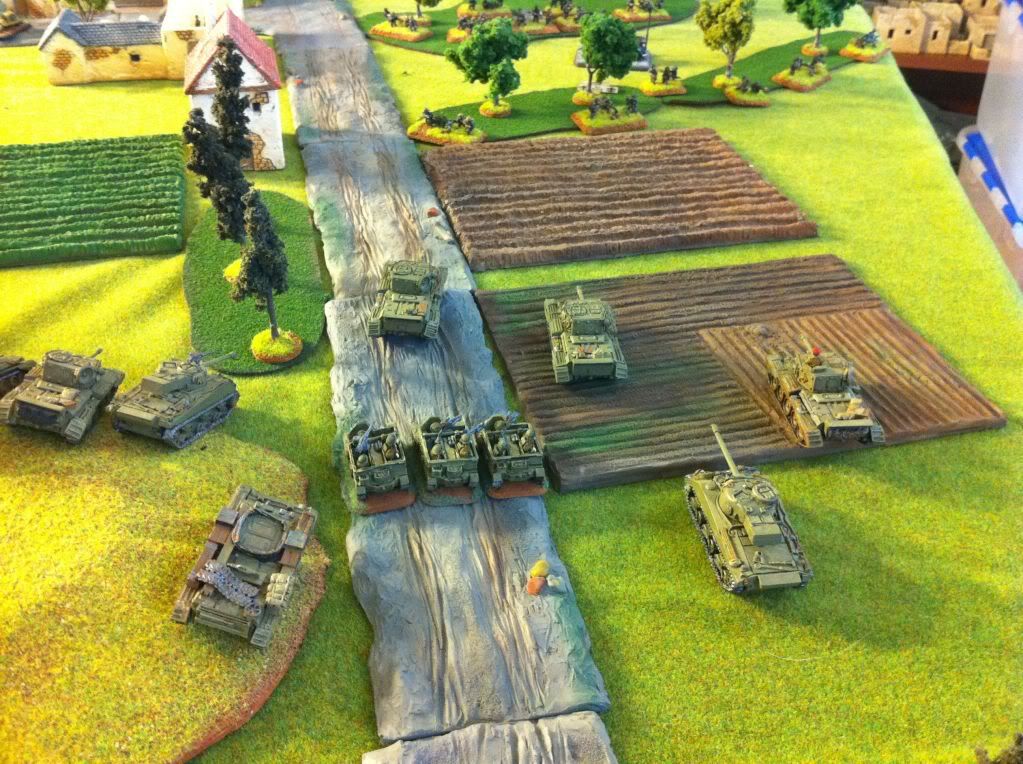
The British armour races forward!

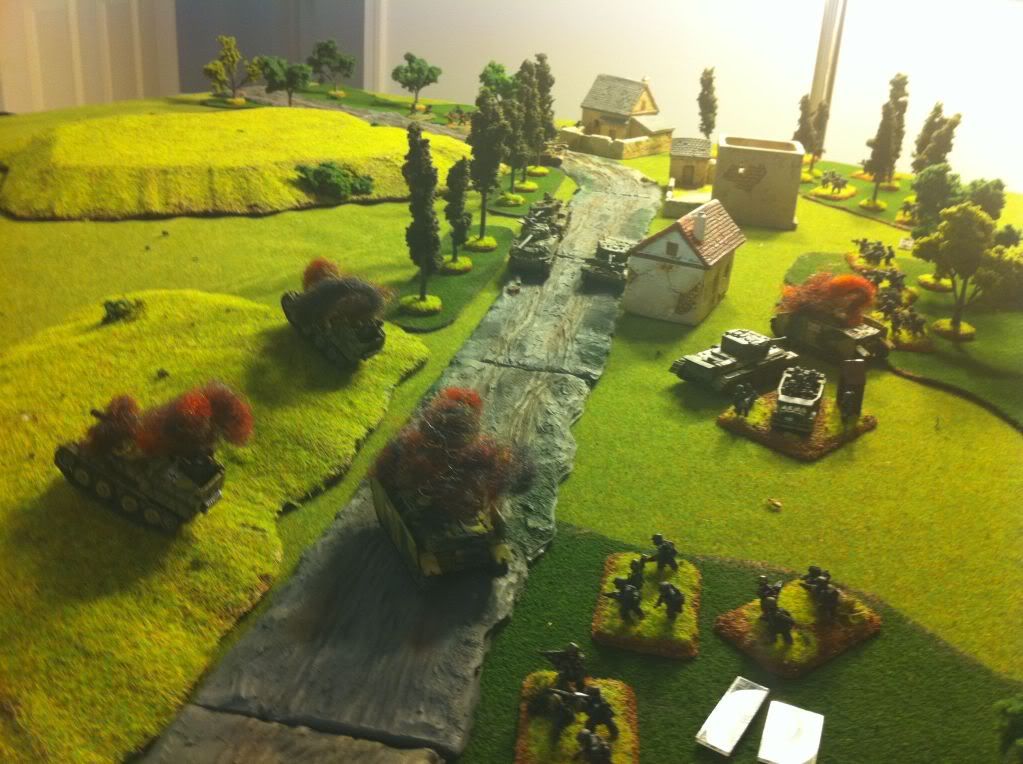
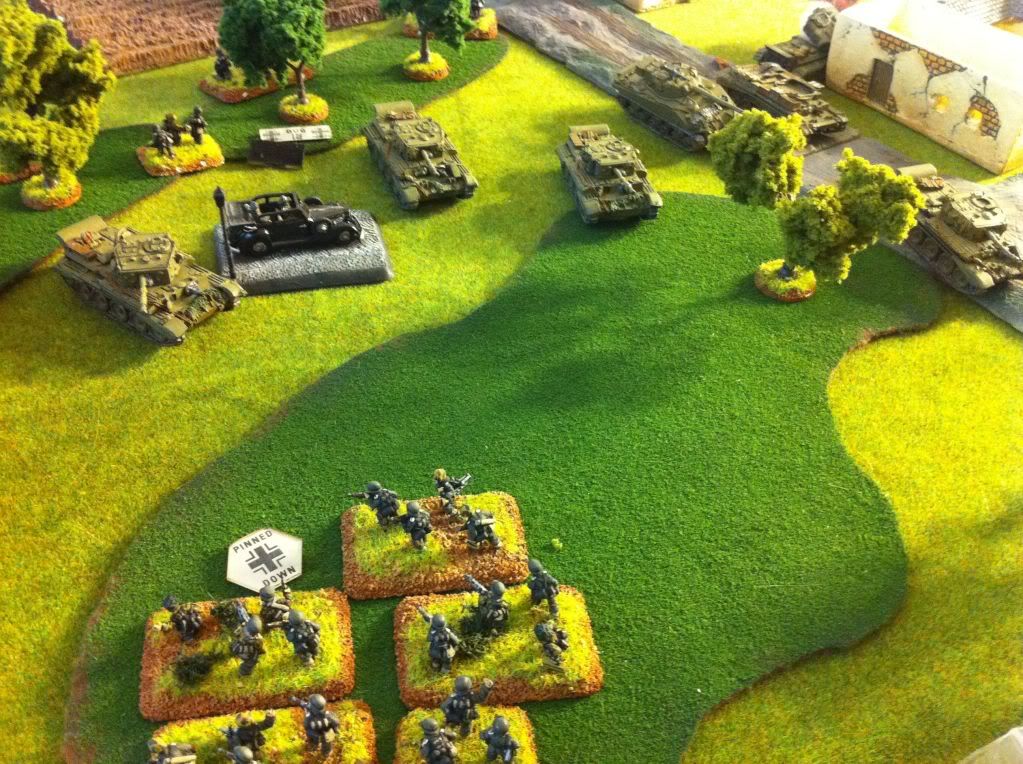
On the German right, cromwells are already in their deployment zone on turn 1!
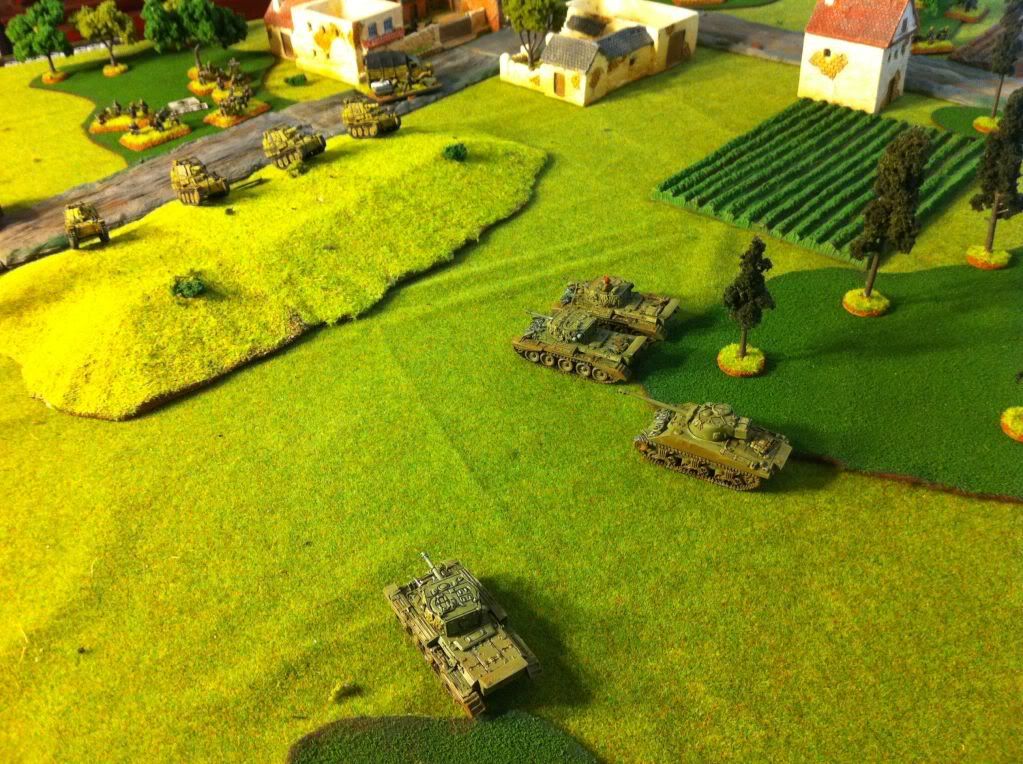
Cromwells must brave the fire of the Marders across the open ground.
An HMG team is knocked out by a cromwell's machine gun.
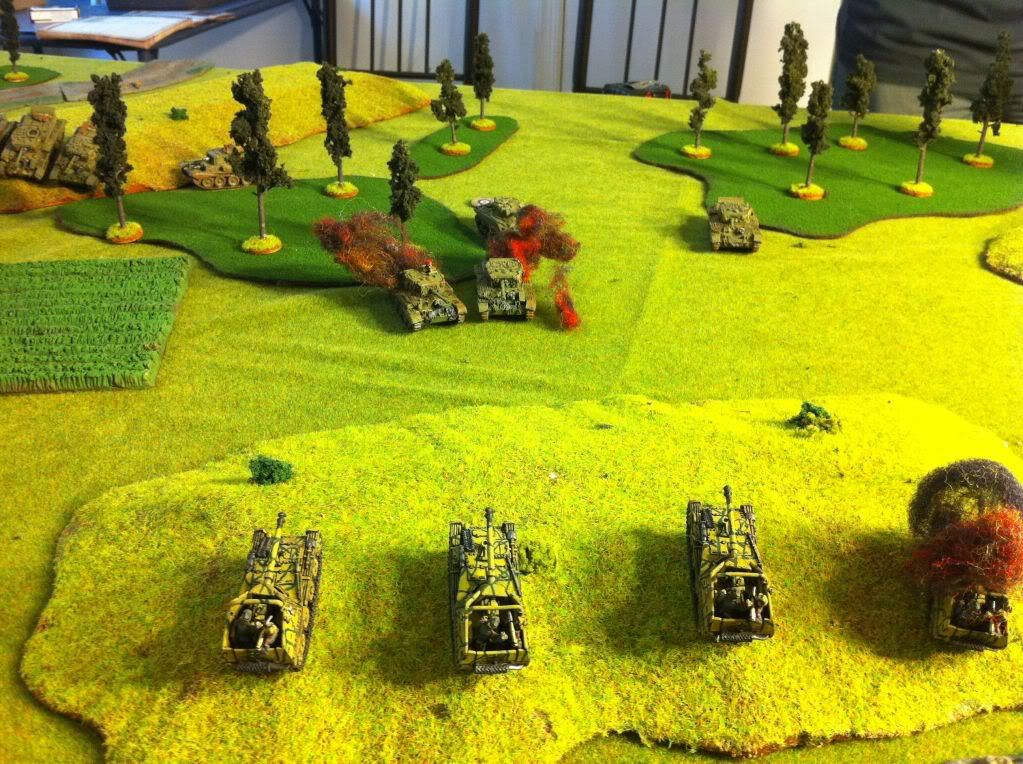
One Marder falls to the british.
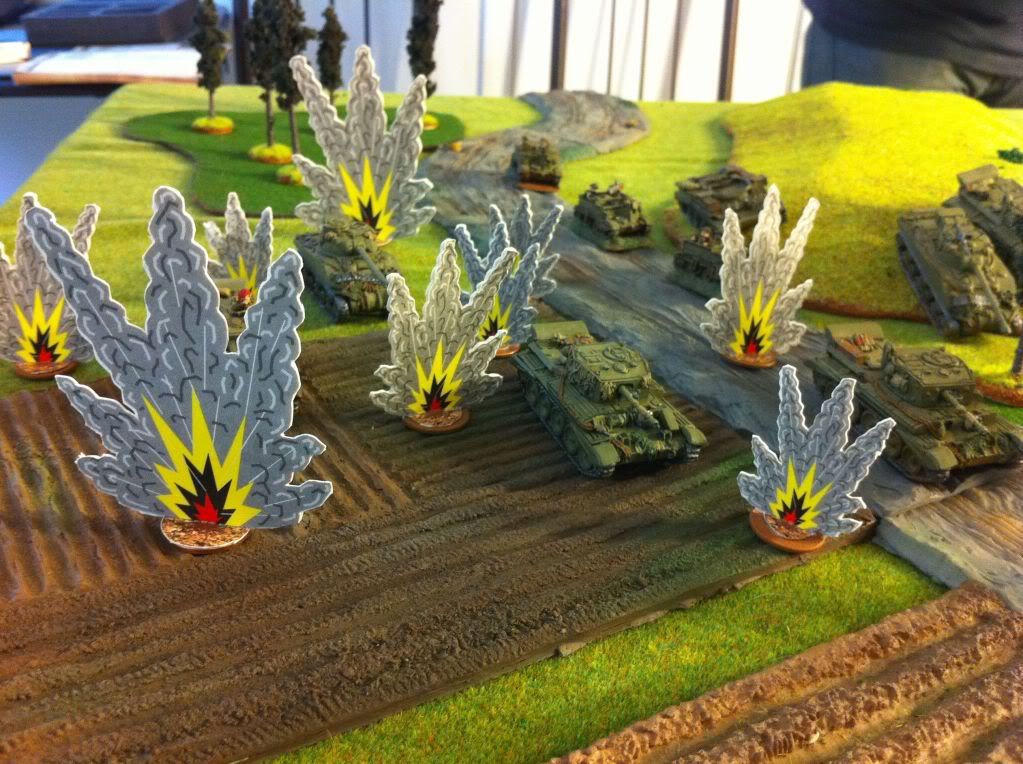
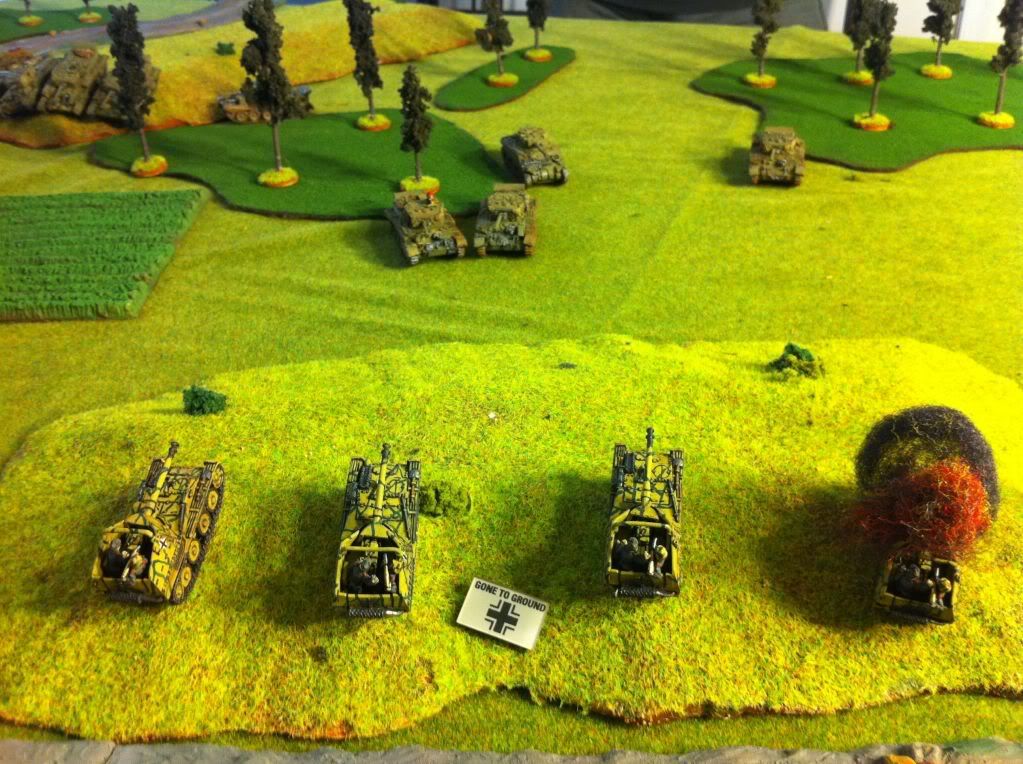
Nebelwerfers range in on the British, but do no damage.
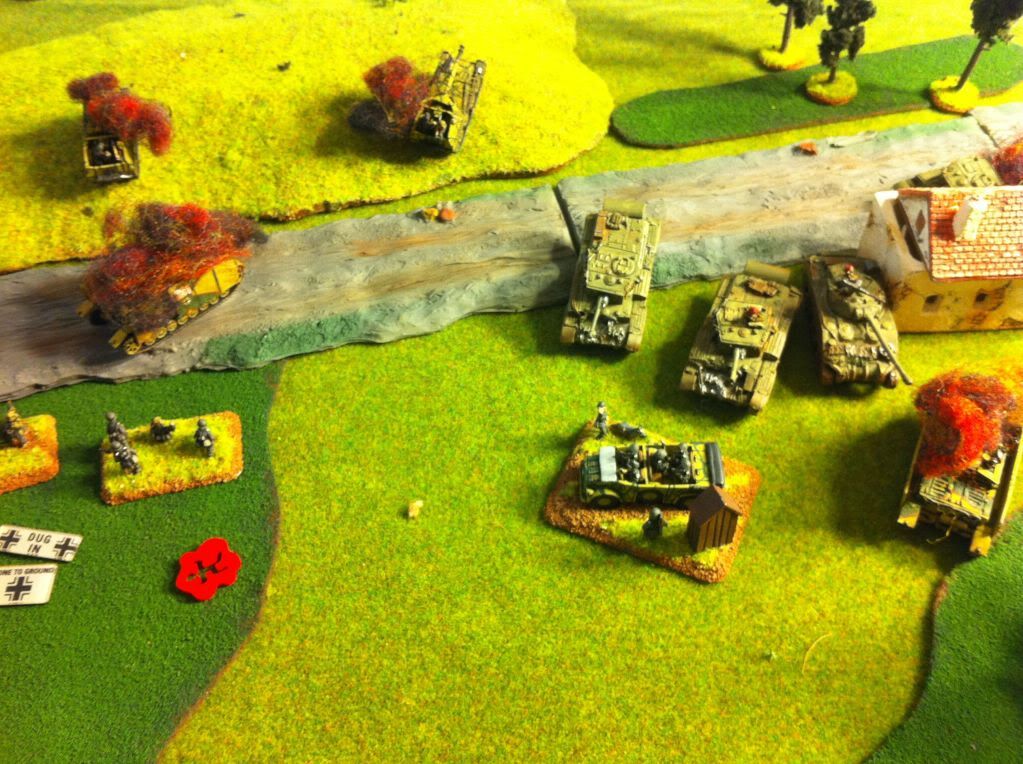
The Marder return fire, knocking out 2 cromwells and bailing the firefly. Despite being reluctant, Sean has no problem making motivation checks for nearly broken platoons this game!
The objective is in sight!
The British are swarming the Germans!
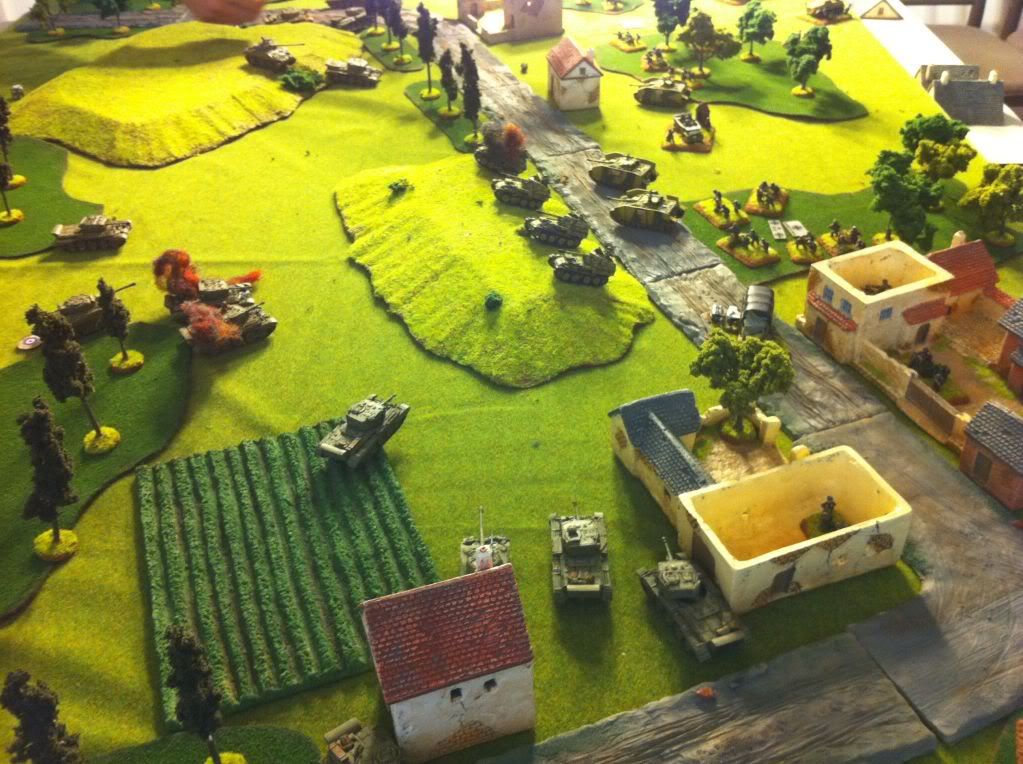
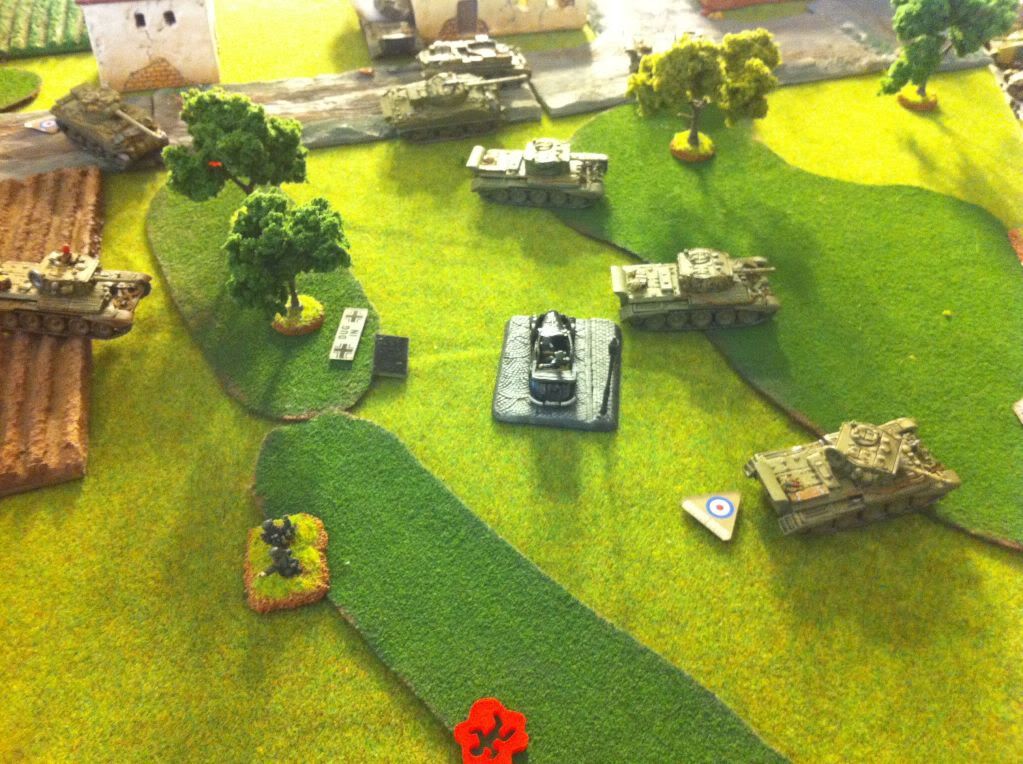
Stugs come under fire.

The Marders are annihilated.

The left objective is threatened.
The Stugs are destroyed! Two platoons down for the Germans.
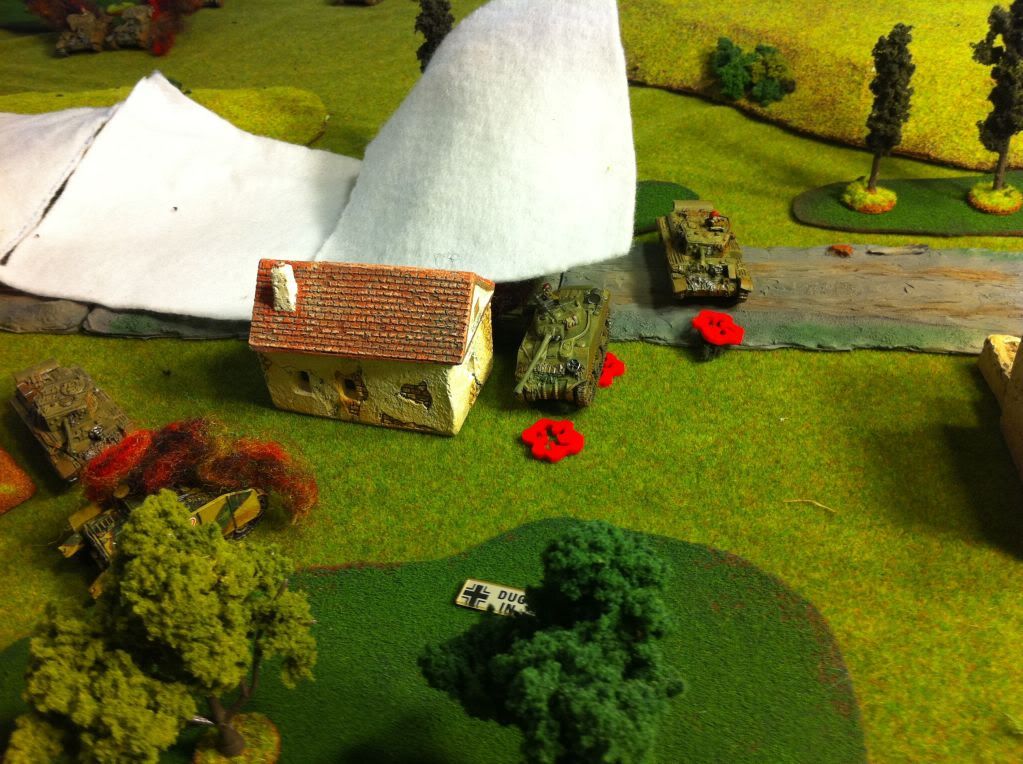
Nebelwerfers fire a smoke barrage, grenadiers assault and knock out one cromwell, but are then pushed back!
Charge! The British come in full force.
British rifles prepare to assault the German HQ mortars.
The Mortars are knocked out by the Tommies.
The cromwells succesfully assault the German grenadiers, sending them fleeing from the objective!
The HMGs are withdrawn. Sean now clearly holds the objective.
Then comes the Pak 40 ambush! One cromwell platoon is gutted, leaving only the Firefly. Who passes his motivation check to stick around!
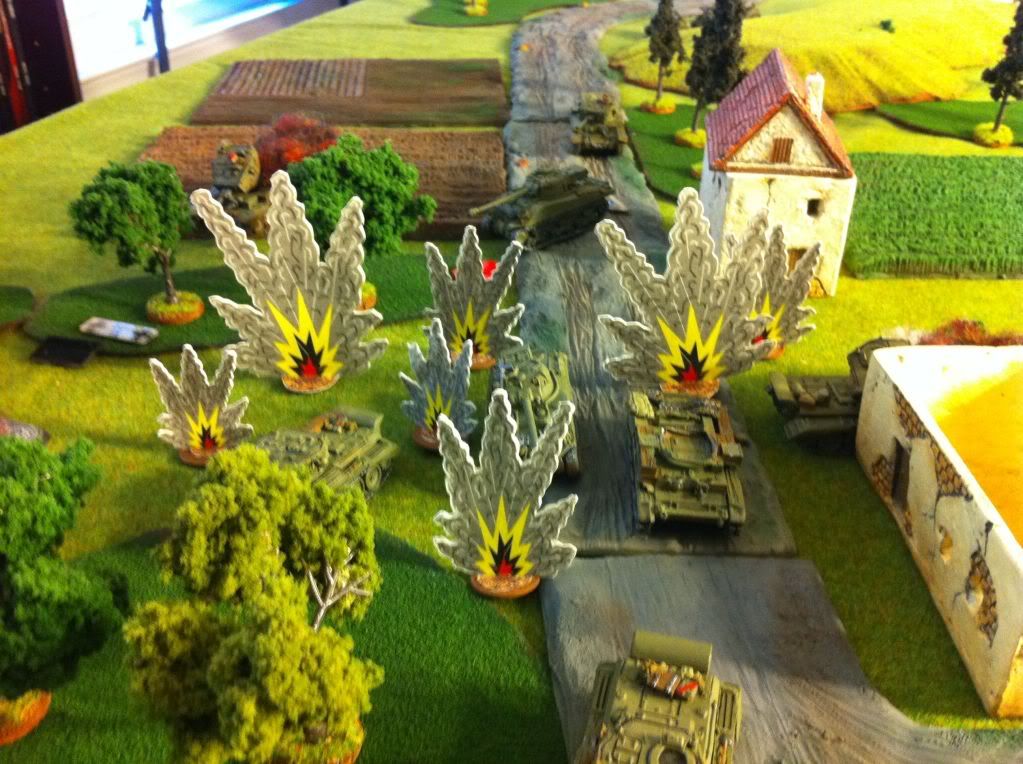
Nebelwerfers again fire on the massed British armour, but do no damage.
In Sean's previous shooting step, he knocked out one Grenadier stand. Steven foolishly forgot about this in the excitement on the left flank, and did not move back to the objective. Top of turn 5, Sean held an objective winning the game.
Steven's Closing thoughts: wow! Those guys are fast. 6-1- even being reluctant Sean couldn't fail a motivation check! I, on the other hand, failed every check I made it seems like!
Congratulations to Sean, he solidly outplayed me here, and deserves the 6-1.


